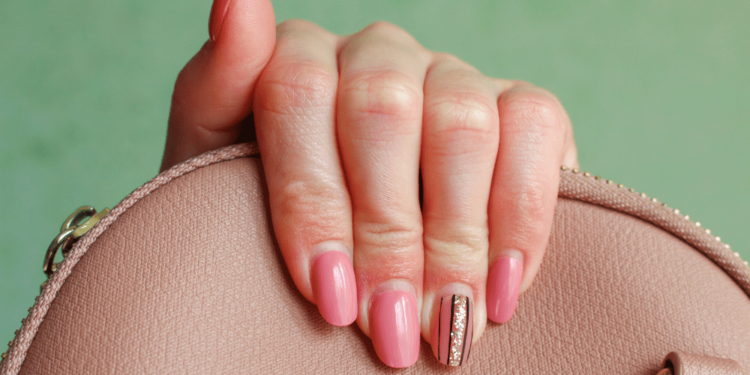
Acrylic nails are a popular choice for enhancing natural nails, offering a sleek and stylish appearance. However, when it’s time to remove them, it’s important to do so carefully to avoid damaging your natural nails. This article will provide a step-by-step guide on how to remove acrylic nails safely and effectively at home.
Understanding Acrylic Nails
Acrylic nails are a type of artificial nail enhancement created by applying a liquid monomer and a powdered polymer to your natural nails. The mixture hardens to form a durable, protective layer. While acrylic nails can be a great way to achieve desired nail length and shape, it’s essential to remove them properly to prevent damage to your natural nails.
Preparing for Removal
Before removing your acrylic nails, gather the necessary materials:
- Nail clippers or nippers: To shorten the nails.
- Nail file: To smooth the edges of the nails.
- Acetone: A strong solvent that dissolves acrylic.
- Cotton balls or pads: To apply the acetone.
- Aluminum foil: To create wraps for soaking the nails.
- Cuticle pusher: To gently push back cuticles.
- Nail buffer: To smooth the surface of your natural nails.
Step-by-Step Removal Process
- Shorten the Nails: Use nail clippers or nippers to shorten the acrylic nails as much as possible. This will reduce the amount of time needed for soaking.
- Soften the Acrylic: Soak cotton balls or pads in acetone and place them on top of each acrylic nail. Wrap the nails with aluminum foil to secure the acetone and prevent evaporation.
- Soak the Nails: Allow the nails to soak for 15-20 minutes, or until the acrylic becomes soft and pliable.
- Remove the Acrylic: Carefully peel off the softened acrylic with a cuticle pusher or your fingers. If the acrylic is stubborn, re-soak the nails for a few more minutes.
- Clean the Nails: Use a nail brush or cotton swab dipped in acetone to remove any remaining acrylic residue from your natural nails.
- Moisturize: Apply a nourishing cuticle oil or hand cream to moisturize your nails and cuticles after removal.
Tips for Safe Removal
- Avoid Using Force: Do not try to pry off the acrylic with force, as this can damage your natural nails.
- Test the Acetone: Before applying acetone to your nails, test it on a small area of skin to ensure you’re not allergic.
- Wear Gloves: Protect your skin from the drying effects of acetone by wearing gloves during the removal process.
- Avoid Over-Soaking: Prolonged soaking in acetone can dry out and weaken your natural nails.
- Avoid Cutting the Acrylic: Cutting acrylic nails can cause uneven edges and damage your natural nails.
- Consult a Professional: If you’re unsure about removing acrylic nails yourself or have concerns about your nail health, consult a professional nail technician.
Caring for Your Natural Nails After Removal
After removing acrylic nails, it’s important to care for your natural nails to help them recover and strengthen. Here are some tips:
- Avoid Harsh Chemicals: Limit your exposure to harsh chemicals like nail polish remover and cleaning products, as they can further weaken your nails.
- Moisturize Regularly: Keep your nails and cuticles hydrated by applying a nourishing moisturizer daily.
- Avoid Biting or Picking: Resist the urge to bite or pick at your nails, as this can damage them and lead to infections.
- Give Your Nails a Break: Allow your natural nails to breathe for a few weeks before applying any artificial enhancements.
By following these guidelines, you can safely and effectively remove acrylic nails while preserving the health of your natural nails. Remember, patience and care are essential for a successful removal process.

